Easy, Artsy, Ornaments & The Coolest Kid-Made Wrapping Paper

Every holiday season, our family loves to spend time together making playful decorations and gifts for loved ones. With young kids, I always try to make these crafting activities fun, simple, and process-based, so kids can truly enjoy the experience.

(This post is sponsored by Walmart (thank you Walmart!), all opinions expressed are my own)

5 Artful & Kid-Friendly Holiday Projects

This year, I am so excited to partner with Walmart.com to share 5 of our favorite artful and kid-friendly projects for the holiday season. We had a blast making these colorful tree ornaments and the coolest kid-made wrapping paper you’ll ever see!

I love these projects not only because they are super budget-friendly, but even more so because they bring us together as a family to have fun, get crafty, and make gifts for others. Isn’t this what the holidays are all about?

Here’s a peek at my new favorite printing technique for kids- It’s easier than you think!

How To Make Your Own

In addition to the mini canvas ornaments and the wrapping paper, I’m sharing 5 super fun and easy holiday projects that the whole family will love over on Walmart.com.

Click here to head over to Walmart’s blog and see all of the steps and supplies for each project.

What’s your favorite kid-friendly, Holiday project? I’d love to hear about it in the comments below.

Join The Family Canvas Challenge!

Two years ago, I was inspired by an Art Pantry reader, Emily, and her family advent tradition of working on one canvas for each day of the Advent calendar. I loved the idea of layering different materials each day on a collaborative canvas and turning it into a fun game that we could do together as a family.

We adapted this idea and worked on our canvas about twice a week for a month. Each time we worked on it, I would bring out a new material, hide it in a bag, and set it out on the canvas for my girls to discover. They loved the anticipation of not knowing what the next material would be!

Read More

Layered Canvas Family Project

This layered canvas turned out to be one of my favorite art projects I have done with my kids. It started off as a holiday Advent activity and turned into something we will be doing all year long. The basic idea is to work on one canvas over many days, adding a new material every time. Because it started off as an Advent activity, each material was a surprise, hidden inside of a bag for that specific day. This quickly became a fun game where they would try to guess what the next material would be. If a material didn’t fit inside the bag (like on day 1), I would set it up like an Invitation To Create and surprise the girls that way. Although we tried to do this every day during early December, I quickly realized that it was going to have to be every other day- and sometimes we’d go a few days without working on it. This made it a much more enjoyable experience and helped me realize we could continue on indefinitely! Here is what our process looked like…

Read More

Holiday Family Art Prompt And Advent Activity

One of The Art Pantry readers, Emily Holzknecht, recently shared with me her family advent art tradition. I absolutely love this Advent activity! Emily creates a bag of art materials for each day of the Advent calendar. On Dec 1, each person in the family gets a canvas and they open the first bag of art materials. They use the same canvas each day and open a new bag of materials to add to their work.

This project is sort of like an invitation to create, advent calendar, & art game all in one. I love the idea of building on the same canvas with surprise materials each day.

Read More

Happy New Year!

I hope you had a wonderful holiday season and had some time to relax and rejuvenate for the new year. We spent our holidays in Sayulita, Mexico, enjoying some much-needed family time! Sayulita is great for kids and is full of vibrant art, unique crafts, and friendly folks. If you ever have the chance to check it out, I highly recommend it. Cheers to a colorful new year!

Happy New Year!


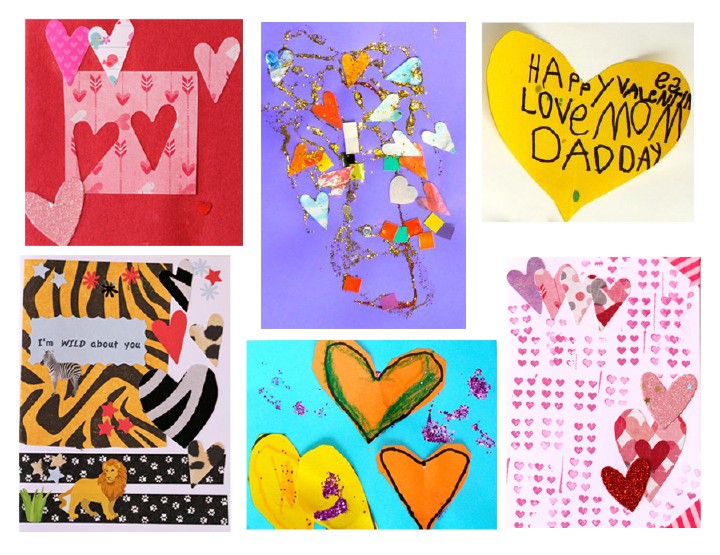
DIY Valentines from the Heart

DIY Valentines from the Heart- The Art Pantry

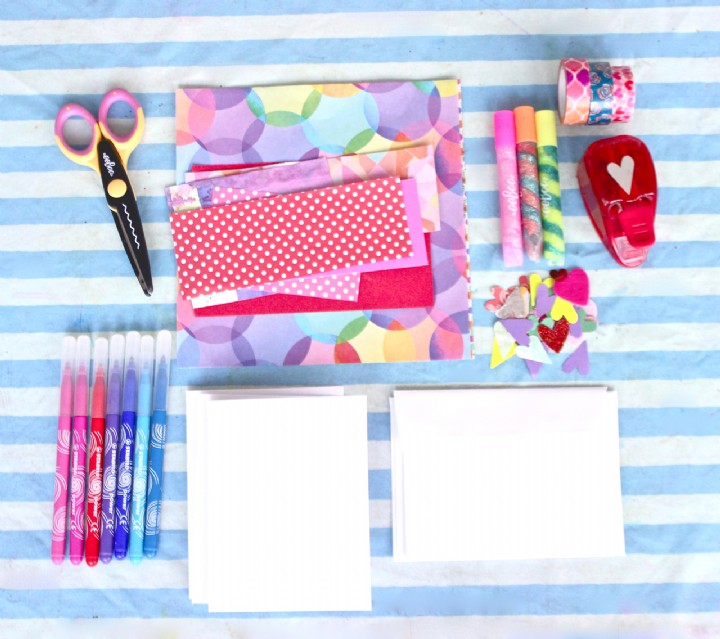
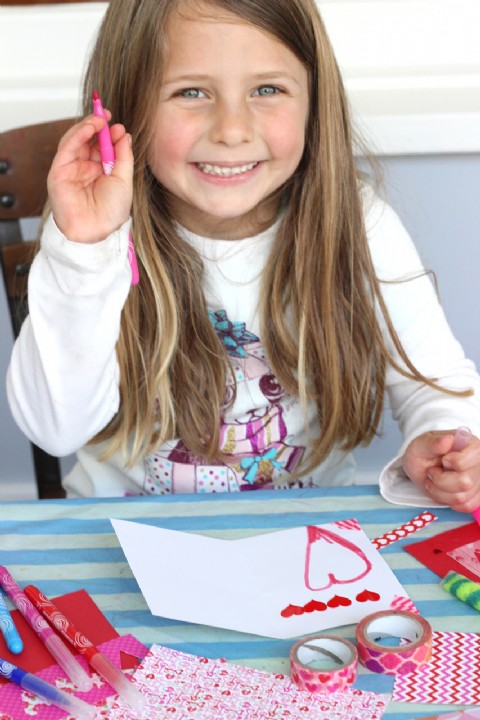
Encourage kids to express authentic gratitude and love this Valentines Day, by making something from the heart. Handmade Valentines are easier than you think! Just set up a Valentine crafting station with some fun supplies like blank cards, patterned paper, fancy scissors, glitter glue, markers, washi tape, stamps ,stickers, or whatever else you have around. Invite your children to make their own Valentine cards for friends and family. If they need a little inspiration, you can create a few samples ahead of time, or sit down and work along side them!


Handmade cards are filled with so much love and joy. I’ll take that over candy any day!


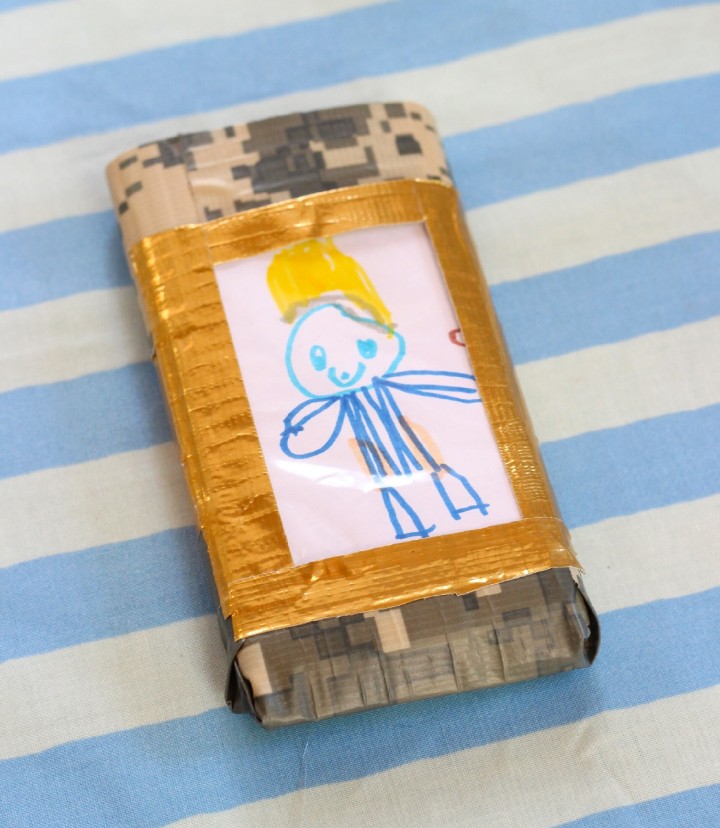
Duct Tape Cell Phone Case For Dad

DIY Phone Case with Duct tape

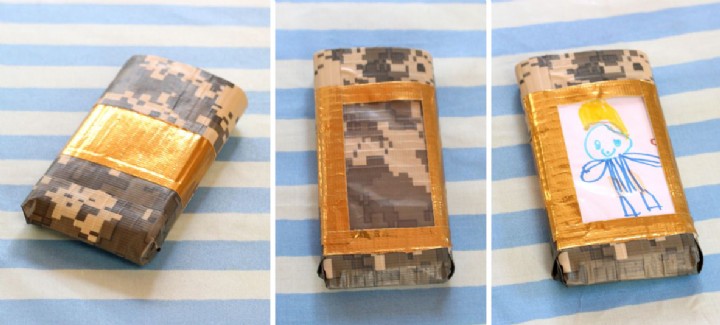
As the girls work on their Father’s Day art projects, I decided that I wanted to make my own gift for my hubby for Father’s Day. With duct tape being all the rage these days, I wanted to experiment with this fun medium and see what I could come up with.  Here’s how I made a duct tape cell phone case with a photo holder (a great way to showcase your kid’s artwork too!).

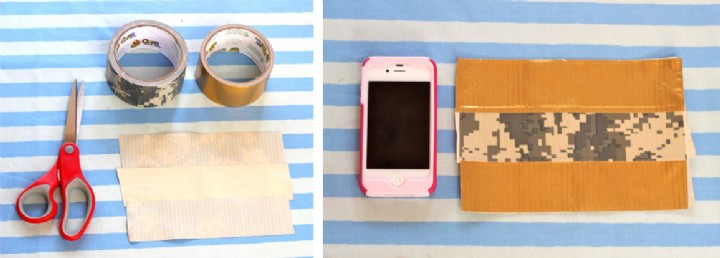
What you’ll need

  • Duct tape (one or more colors, depending on your design)
  • Scissors
  • Clear plastic bag (freezer zip locks work well)

Steps

1) Start by layering three or four pieces of tape together, sticky side up, to make one large piece. The height and length depends on the size of your phone. Make sure it’s at least an inch taller than your phone and a little more than double the width (you can always cut it down later if it’s too large).
Then do the same thing, sticky side down, over your first piece. You will end up with a double-sided large rectangle of duct tape.

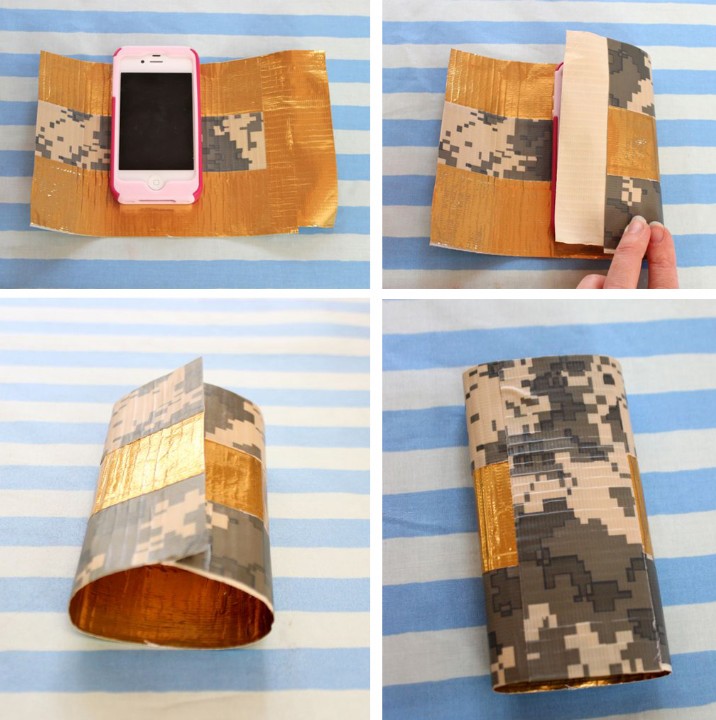
2) Cut a piece of tape the same length as the height of your rectangle and stick it along the side edge- with half of it hanging off.
3) Fold this side of the rectangle over your phone so that there is a strip of the sticky edge facing up.
Fold the other side over to fit snugly around the phone and press down so that it sticks to the strip of extra tape.
4) To seal this side, cut a new strip of tape and place it over the seam. If there is extra tape, you can fold it towards the inside or cut it off.

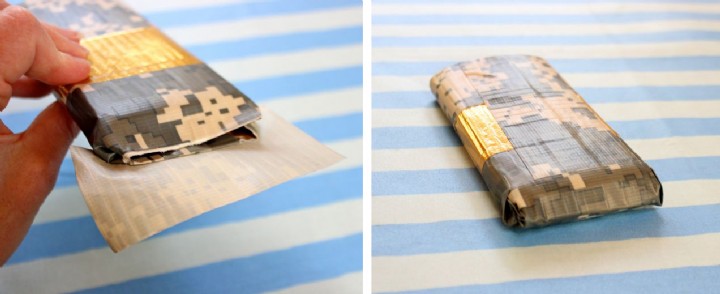
5) To close off the bottom of the case, fold the corners in, like you are wrapping a gift and seal it with a new piece of tape.

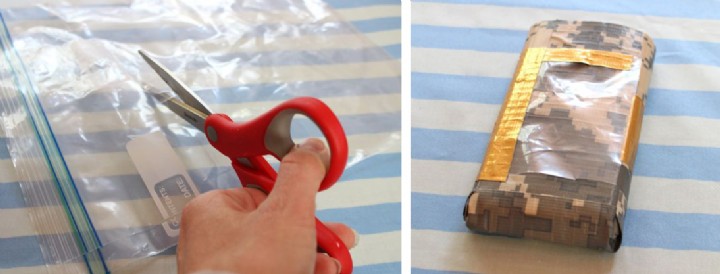
6) To make a picture slot, cut out a piece of plastic from your baggie, a little bit smaller than the front of your case.
7) Cut out four thin strips (about ½ in wide) of tape for the edges of your plastic window.
Use one strip to fold over the top of your window.
8) Place the window over your case and secure it on the sides and bottom with the thin strips of tape (so that half sticks to the window and half hangs over to stick to the case).

9) Now for the extra special touch… just cut a photo or a piece of your child’s artwork to size and slip it under the window.
So cute, I might just have to make a second one for myself!

Save